Monday 25 February 2013

Creating a Fabric Stamp - Continuation

Here is the link to the previous part 1 of 'Creating a Fabric Stamp'

https://www.blogger.com/blogger.g?blogID=3556031572088059310#editor/target=post;postID=7192110845395969510;onPublishedMenu=allposts;onClosedMenu=allposts;postNum=6;src=postname


I've taken a few more photo's of the doily stamp/fabric stamp process.


Back of the block.
 Two holes for the handles have been drilled at the size of the screw from the front on the block.
The screw has been sunk into the back of the block.
 The screws were sunk into the back of the blocks so that when the rubber is mounted onto the underside, the screws will not get in the way of the stamp printing.
The right side of the block with screws showing proud.
  The handle is ready to screw into place once the stamp image has been transferred.


Here is the doily design on the tracing paper

 Start by designing your stamp so it is ready to trace and transfer onto your rubber.  Here I have used a doily design straight from a real crocheted doily.  I've taken the holes from the doily as the areas that I will cut away from the rubber.  


The rubber with the image already transferred
Here is the rubber with the image transferred, it is now ready to carve.

Ready to carve

Repeat Printing Stamps

I got my camera back and it works great :)  It cost the full amount of course.   

Today I wanted to sell some stamps I'd made, so I made some repeat printing patterns from them and took some pics to share on facebook. 
https://www.facebook.com/LittleStampStore
Here's some pictures.


Chevron & Houndstooth Print

I made a little video of how to work with repeat pattern stamps but then realised that the video camera didn't work, as it had run out of space.  I got the first 10 seconds recorded... Doh!

It is really simple to use these, you just have to find the edge of the print and repeat.  You then just keep going until you have the desired area covered.


Tiny Triangles & Circle Prints

Tuesday 19 February 2013

Camera Fail!

Doh!, So I went to take photo's of my doily stamp and my camera has a black piece of fluff in the lense, somewhere!  I can't find it...  I dusted it out but only made it worse, now there's about 5 white pieces of fluff instead of one, baaa...  So I'm now off to the camera shop to ask for help.  Very annoying.  I don't want to miss taking photo's of this stamp as I really want to use it in a book I'm making.  It's time lost on stamp making but time well spent I hope.  Hopefully I'll come back with good news.


Well bad news, I'm back and it's in for repair :(  I feel lost without it and depending on where the fluff culprit is it can be anywhere from £12 to £35...  And it won't come back until Friday, I'm bored already.  Well I better get on with some custom orders I suppose lol...   I did get my material through for my doily stamp project though and they're gorgeous, so can't wait even more to get my camera back as I really want to log all the steps.  This picture was taken with my phone, it's not come out too bad at all.


Monday 18 February 2013

Cow Parsley Seed Head Stamp

So I made a little video to go with the 'How to' of this stamp.  I thought it would be a great intro stamp for anyone looking to give it a go.  It's simple enough to follow and I will post a link on the blog once I have it loaded.

(Here it is; http://youtu.be/zwOEGtxDmJE)


For now here's some pics of the stamp.


You can get an idea of how sunny it is here in Kettering.  Beautiful sun beam streaming into the studio.

Other stuff I got up to on Sunday

Other stuff I got up to was finishing a custom order for Blue Star Cakes and I made a little poppy seed head for selling.  I put it on last night and it sold straight away , love it when that happens.  The lady who bought it would like me to make a cow parsley seed head to go with it. 
I sell everything I make on https://www.facebook.com/LittleStampStore.


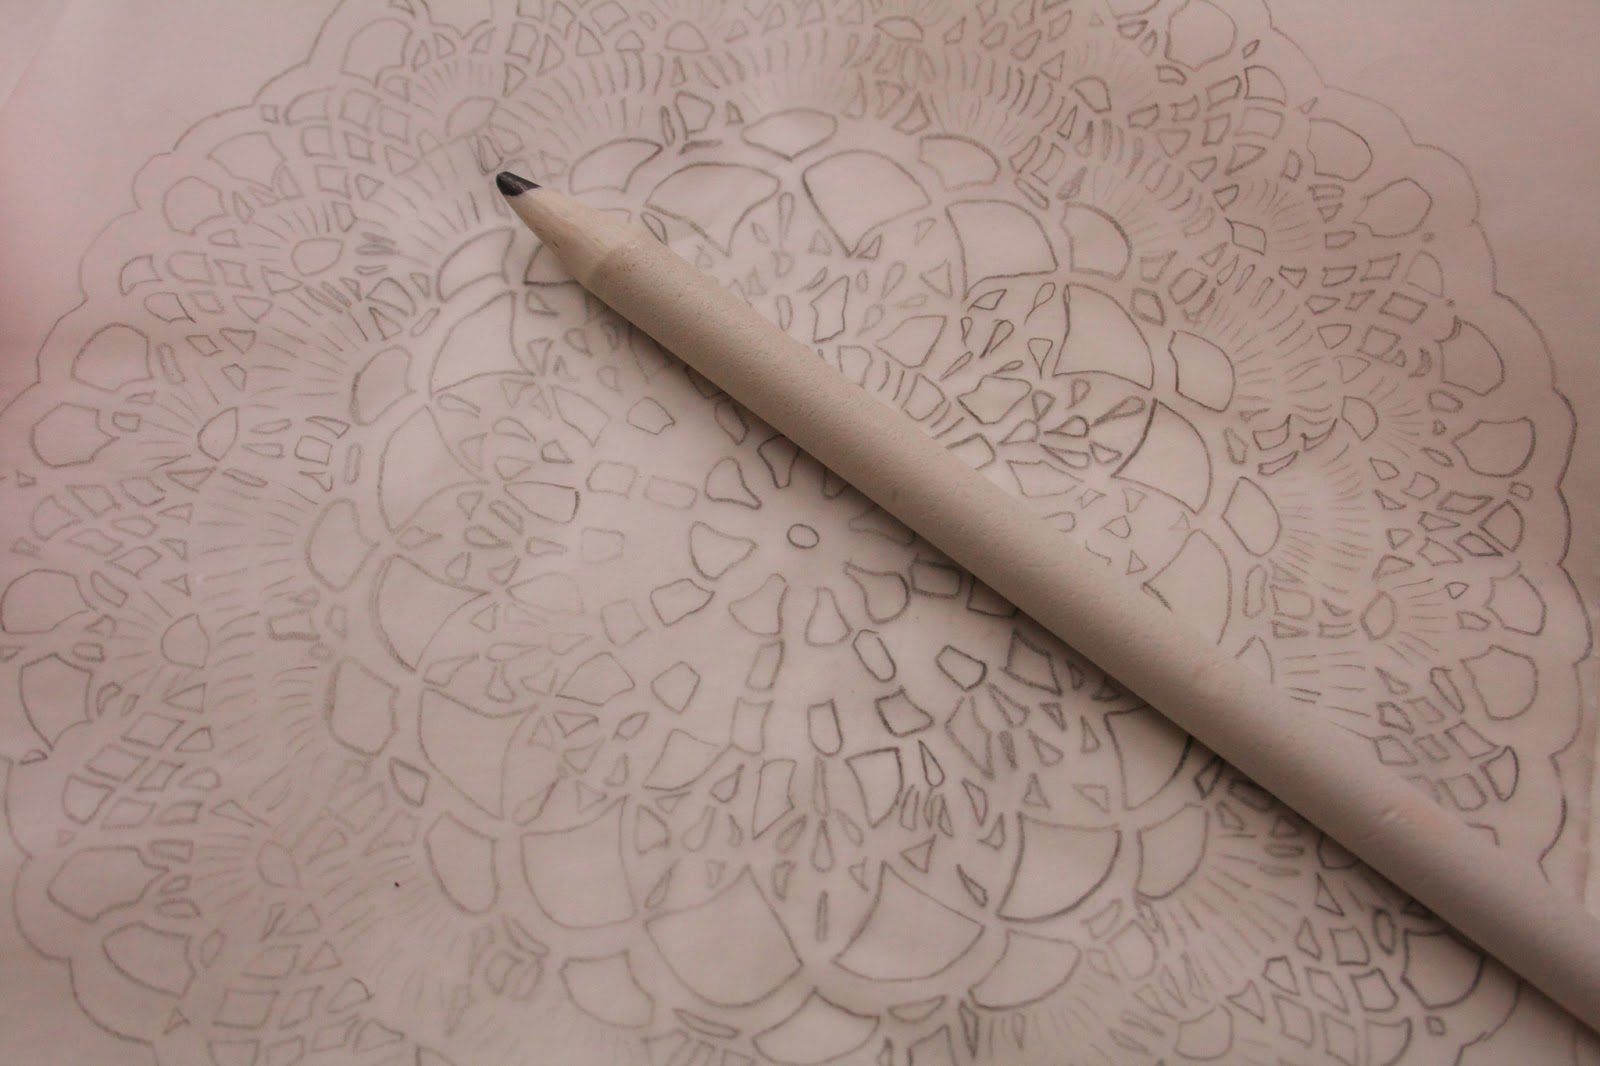
So I'm off to make a cow parsley seed head to get in the post with the poppy head for the lovely lady :)  And after I will get the pictures up of the big doily stamp that I'm making. 

Amateur Upholstery at Mixed Bags Craft Group

Yesterday was spent with some gorgeous ladies from my craft group 'Mixed Bags' I think the name pretty much sums up what we're like! 

I brought pleanty of chaos to the group yesterday by turning up with my table hammer drill etc.  :/  ha ha...  I was really please with the outcome of my posh coffee table and the other productive parts of my day.  


I'll share briefly what I did with the table, mostly with descriptive pics so as not to bore the hell out of you...


Ta na!  One posh coffee table ready for a posh coffee tray, magazine's to take pics of at home.   I was really pleased with the outcome, just need to sew the folding corner seems.  When I'll get round to that?????

BUYS - Where I got all my stuff... skip if you don't want to know...


(I bought the material £9 and the table £10 from eBay,...  I asked hubby and my Dad to cut the legs off and cut the table back.  The sponge was from http://www.anyfoam.co.uk/?gclid=CKrP3I3dv7UCFXDKtAodCjYApg.  Screws from B&Q, 13mm shank antique upholstery nails and gold ribbon tape from Dunhelm.)

The great thing about the gold thick corduroy material is that it has a plastic cote to the backing so if the kids spill anything, it's no biggy :)


(It's not quite the Ideal Home magazine picture of a posh coffee table, but it's perfect for our home :)

Saturday 16 February 2013

Creating a fabric stamp

Today I've been creating the stamp block for my fabric stamp project.  It is a beautiful piece of  seasoned treated oak.  I've sanded it down and hubby drilled a couple of holes in it for a brass looking handle that I bought from B&Q, (they're called Bow Pull handles and you get 6 in a packet for £10.98). 

I need a handle because the stamp I will be making on Monday is so huge, it would be too cumbersome to manoeuvre and get a clean print without.  So the pictures from today aren't very exciting.  In fact I only have one to share.  It will get more interesting the further I get along with the project, I hope ;)


Marking up the holes for hubby to drill, I'll dare to have a go one day!

Friday 15 February 2013

Just Wanted to Share

Here is a link to my facebook page so you can see the photo's of what I carve.
Just until I get my blog up and running properly :)


https://www.facebook.com/LittleStampStore


Introductions

Adventure Land
Wow, this is it, I'm actually blogging.  Never thought I'd join in but here I am.  I think I'll start by saying I'm a mum of two gorgeous boys of Geroge 3 and Elliott 5.  I'm married to Simon Sherbourne, the love of my life :)  Bleeugh! lol....


I hand carve rubber stamps and love delving into the arts and crafts world when I get time to venture into it.  I'm hoping to start bloggin in the hope that I can keep a track record of what I get up to and what I can achieve.  With the blog hopefully kicking me up the arse as I go.   Hey! what's a little added pressure to an already insanely anxious mother of way to much to do already ;)  Am i nuts, erm... yeah a little... But I'm not quite totally bonkers...yet!

Look forward to decorating my blog, making it my own and adding pictures of what I make and do.  And hopefully get a few followers along the way interested in what I do.  Here's hoping! ;)