https://www.blogger.com/blogger.g?blogID=3556031572088059310#editor/target=post;postID=7192110845395969510;onPublishedMenu=allposts;onClosedMenu=allposts;postNum=6;src=postname
I've taken a few more photo's of the doily stamp/fabric stamp process.
 |
| Back of the block. |
 |
| The screw has been sunk into the back of the block. |
 |
| The right side of the block with screws showing proud. |
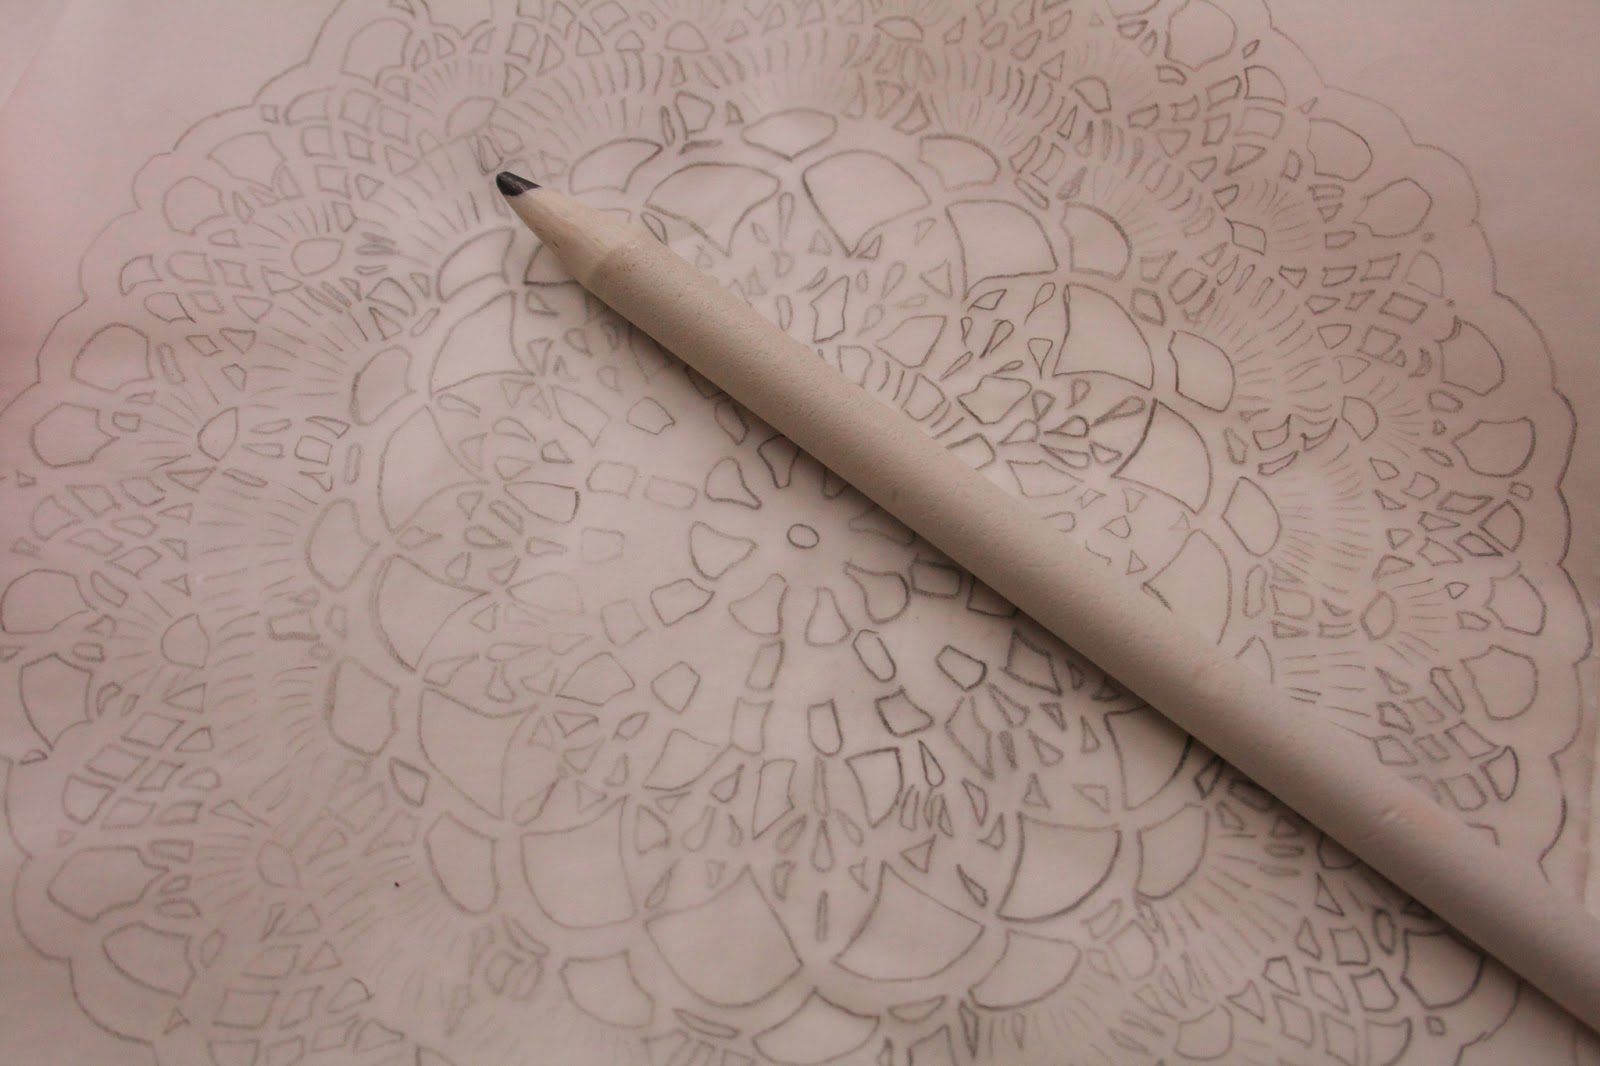 |
| Here is the doily design on the tracing paper |
Start by designing your stamp so it is ready to trace and transfer onto your rubber. Here I have used a doily design straight from a real crocheted doily. I've taken the holes from the doily as the areas that I will cut away from the rubber.
 |
| The rubber with the image already transferred |
 |
| Ready to carve |
Wow!! This is going to be incredible when you finish!! It alreday looks amazing :-D You must have so much patience.
ReplyDeleteI can't wait to get my little birdy stamp :-)I'm now following your blog
Emily xx
missmagpiedesigns.blogspot.com