Sunday, 27 October 2013

Giveaway Winner - Louise Holgate Photography


I was so pleased that Louise Holgate won the giveaway prize of a custom stamp of her choice.  When I saw the picture of what I had to carve, I melted at how cute and stunning it was.  I knew it was going to look good as a print and it so does.

It took a little time to carve as it was pretty fiddly to get around all the branches, etc. but was well worth it.


Here's her facebook page to check out...
https://www.facebook.com/LouiseHolgatePhotography


Before the stamps get sent out, I always check them to make sure they stamp correctly.  A good stamp should stamp first time every time.  Some times in workshops people will say, "I've still not learned how to stamp without getting the lines around the edges", etc.  It's not you! it's the stamp.  You can be a complete novice with my stamps and do it first time.

The finished carved stamp.
 
This stamp was mounted onto a clear acrylic block.  This way you can stamp directly onto the first image and see where your placing it for accuracy of print.


Here are some photos of what was included in the giveaway, a two system stamping set, two inks and two bags to keep the stamps safe from abrasions.


Two stamps: the background to the tree and the tree.  Louise was given two Versa inks to go with her prize.  Versa inks are so highly pigmented; just wish you could get pads in A4 size.

Printing is great so it's ready for a quick clean and package to be posted out.

Here's the baggies that every stamp I make gets sent out in.


I'm really looking forward to finding out who I get in the next giveaway...  Thank you to all who took part in the giveaway and sharing and liking my facebook page.  All my income comes from my page and you're all so very important to me.  I hope to be making your stamps for your replacement stamps and more, well into the future.

Thanks so much, Fran Sherbourne x


Here are a few pictures that Louise sent back to me to share with us what she's up to with her stamps :)  My favorite bit when I get to share what your doing with your stamps.


Wednesday, 16 October 2013

Fran Sherbourne - Rubber Stamp Carving Workshop

The Workshop

It was a lovely little group of ladies today who came to the workshop to learn how to carve rubber stamps.

I drew up a few easy to carve shapes and printed off a few for the ladies to trace and carve.  All of the designs went down really well and some found them great to choose from.  So I'll definitely be using this lesson again.  Here are the sample pictures that I drew and took with me to share, they were all drawn with the idea that repeat printing would be used.  You will see a lot of gift wrap out there with stars used in repeat printing styles.


I started off by doodling with pencil, then when I was happy I made the patterns bold and easy to trace.
Here's some of the ladies work from the workshop today.  Not bad at all for their first attempts at carving.  Just a few practices at a couple of simple techniques and they were off.  I even had someone eager to try the reindeer, and succeeded really well for a first time :)
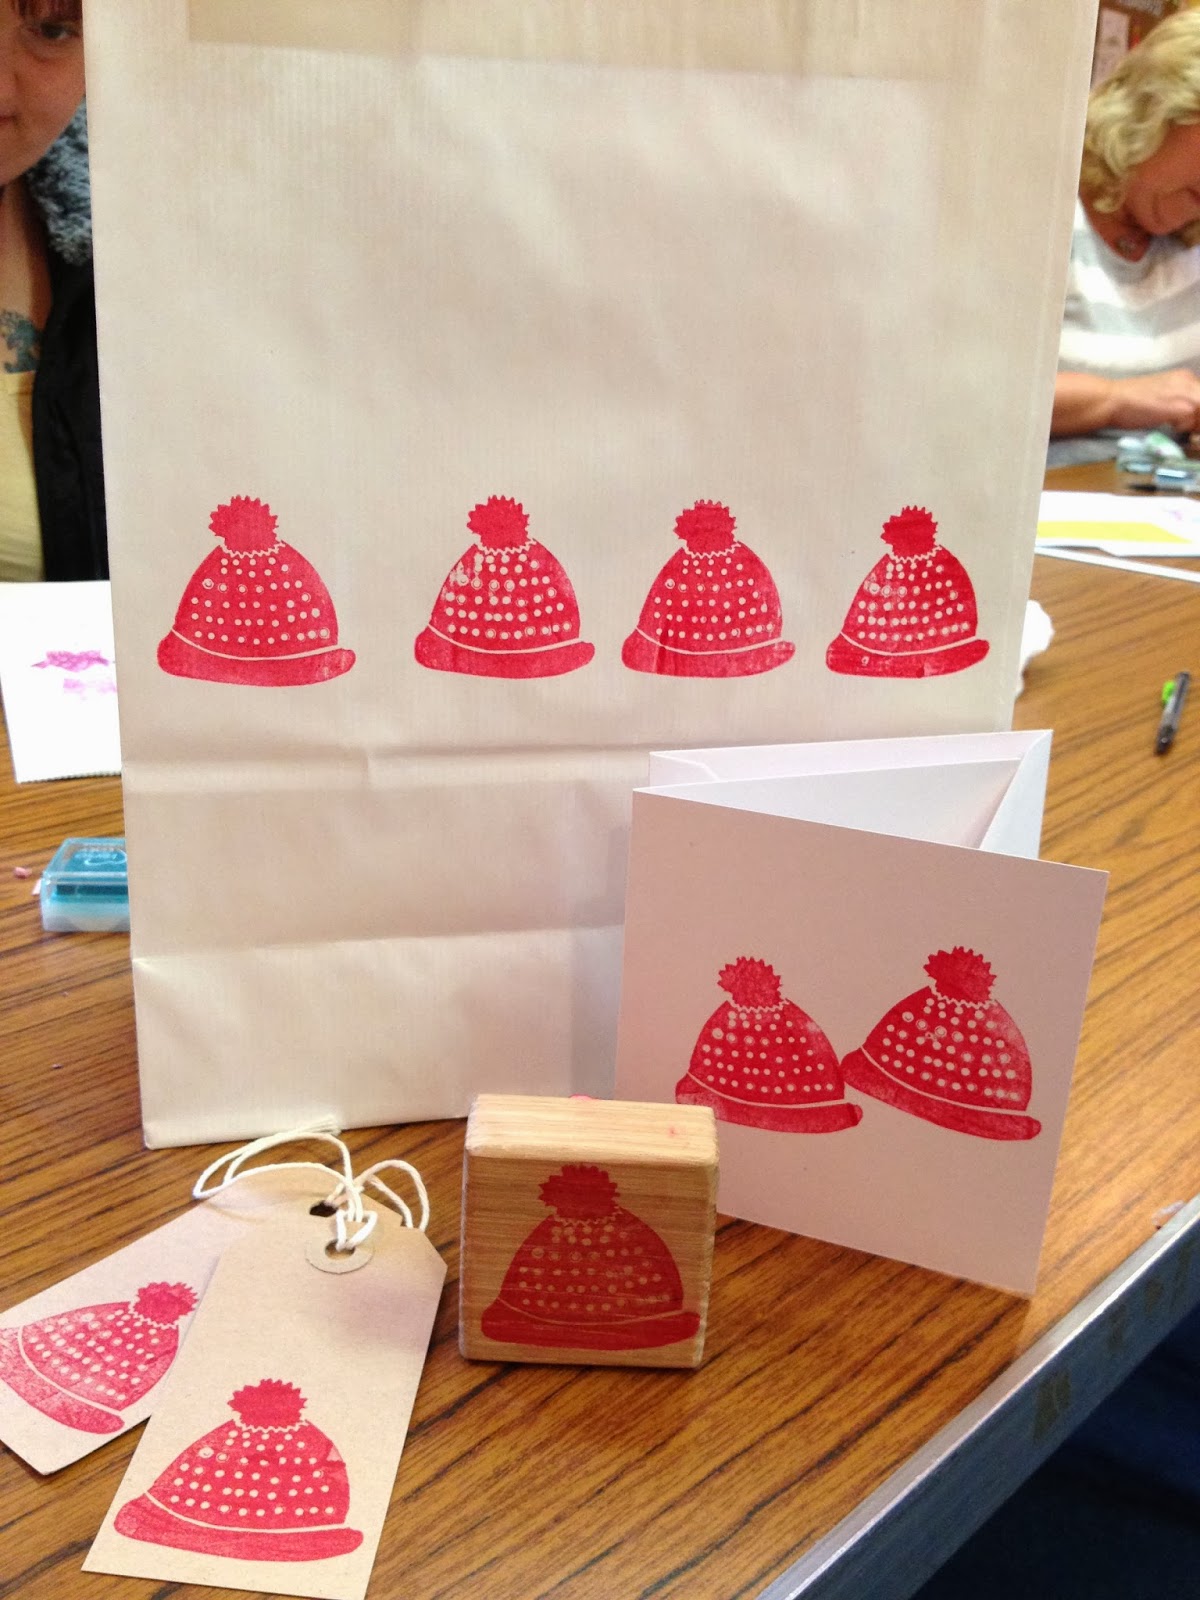
A simple bobble hat design, so easy to carve for a first time carve 'when you know how'

Workshop Ladies get to take their stamp home, mounted on kiln dried oak

Using the simple rounded abstract triangle to create a colourful forest of multi coloured trees.

Another simple carve to do 'when you know how'. Using cutting tools found lying around the house.


A Christmas Bauble, again using tools, utensils around the house to make these simple patterns.

And a budding future stamper I think, not bad at all for a first attempt.
So there we have it another workshop complete and it went really well.  I absolutely love teaching people how to carve, it's so relaxing and I can't wait to do more.

Tuesday, 18 June 2013

My first workshop - It was a success :)

I was really pleased with how the workshop went today, what a great start :)  I had some very good feedback, everyone left with a new skill and had a good time.  I learned a lot too like maybe I should start even smaller as in what I teach.  I think using tools like blades may be a jump a little too quickly.  I think learning about the rubber and what it feels like under manipulation with different tools is more important than I thought.  Perhaps patterned stamps for backgrounds on cards would be good.

All set up and ready to start...

The ever ready salesperson with Ink for sale, ha ha...

Next time I think I will use tools that you could perhaps find around the house.  Then with these, show what patterns can be achieved. 

This could get addictive and I loved the social aspect of the workshop too. 

Everyone went home with some gift wrap and their very own stamp that was mounted on their own oak block.  I was told that I was very organised and I think it went well for that reason as everyone had achieved there goal by the time we finished the lesson plan.  Wooop!


Some beautiful seed heads, a great first carve image to try...

Poppy

Happy balloon image for party bags...
And here is a few of the finished articles that people took home with them :) 

Beautiful butterfly, for first time carvers I was really impressed...

A beautiful portrait of two grand daughters :)  What a brave first attempt, but didn't she do very well.

A very pleased student, such a beautiful contemporary seed head with her own leaf design added for that touch of creative personality.


I love this flutterby, very good capture of the butterfly's flying by.


A veined flower, very contemporary feel to the everyday flower.  It made great packaging too.  She used sea blue and silver on her gift wrap.

Tuesday, 11 June 2013

Lou-Tonkin - Needle Felting Genius!


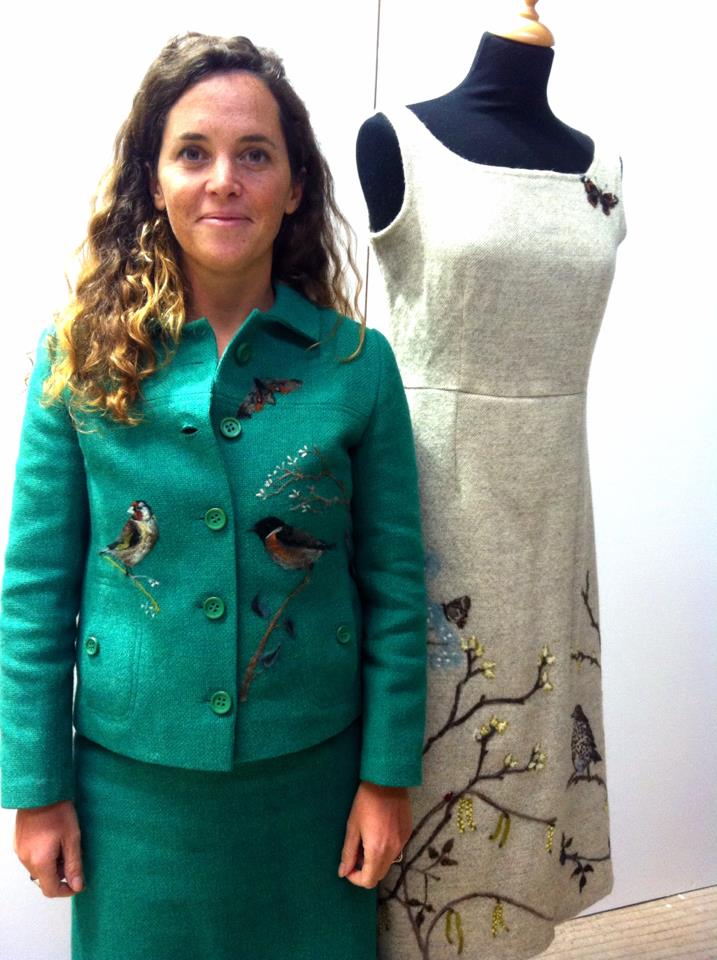
I am very excited to have been chosen to try out Lou-Tonkin's jacket.  I will be taking it for a test drive, washing, wearing it and finding out the staying power of her needle felted work within clothes.  She will be branching out with her fab needle felting work into a new line of clothes and I get to help by test driving her jacket :) 

So I will be sharing on my blog how I get on, I'll show photo's of the detail after washing and wearing.


I am very excited about a range of clothing from Lou-Tonkin and really looking forward to seeing the end results.  All of her work is gorgeous and if you haven't checked it out yet, I strongly advise you to go take a peek, you won't be disappointed...


Here is some more gorgeous work from Lou-Tonkin


BLOG: http://loutonkin.com/2013/06/11/drum-roll-please/

FACEBOOK PAGE: https://www.facebook.com/pages/Lou-Tonkin-Art-Graft/118577118182463?ref=ts&fref=ts

Sunday, 2 June 2013

Repeat Printing Stamps

I keep trying to promote my repeat printing stamps, as I think they're the best thing ever!  But I think I might be on my own on this one.  

Anyhoo... Here's a t-shirt I made for my wee man from a simple aztec print stamp that I carved.  I used a Versa Colour Ink to stamp with and then set it with an iron.  I will wash it in a cool wash first to see how it comes out. Versa ink do make a fabric ink pad so look out for that if you want first time success.  I read somewhere though that the usual versa colour lasts just as well with an iron set. 

I love it and so does my eldest son, he would like one too as does hubby...  Do they really or are they just being nice ;)

Here it is...


For George my youngest I measured 11cm down from each shoulder and ran the ruler in a straight line.  I then printed just below the line, joining up the repeat prints along the way. 

I heat set the ink with an iron on hot steam through a tea towel.

Ta Na!  What do you think, Aztec surfer! well nearly ;)

Here it is on show at the fair today along side the other repeat print stamps that I had for sale, again no sale!  Maybe I should let it go and go with all the stamps that do sell.  Oh go on, give it a go and link your blog to me ;)

Monday, 20 May 2013

Etsy Shop, finally...

http://www.etsy.com/shop/FranSherbourne?ref=search_shop_redirect

I'll start off by telling you that I have finally done it :)  I opened up a shop with Esty.com  It's been a long time coming and I should have done it ages ago.  I always seem to be busy with my two gorgeous boys of 3 & 5, house, chickens, dogs, stamp orders, school runs and anyway you know how it goes.  You get to the end of the day and your done for!


I have one item on there and my banner is looking lovely, it's a start and I'll add more as I make more.

Craft Group - Wednesday mornings


Great News for local crafters! There is a craft group starting up on Wednesday mornings from 9.30-12. It will be held at the Gateway Community Church on 42 London Road, Kettering, NN15 7QA.

It will be run for anyone working or crafting from home as a hobby or work.

Any craft is welcomed, tea and coffee will be provided and of course biscuits. All of this will be for £1.50 per persons contribution. Bargain and you get to work and chat within company of like minded individuals.


Here is the Facebook event https://www.facebook.com/events/456737681085540/

Who's interested?

Gateway community - First Craft Group
scheduled 12 June 2013 from 09:30 to 12:00


During school term time only


Warner Edwards Distillery - Hand carved rubber stamps by Fran Sherbourne

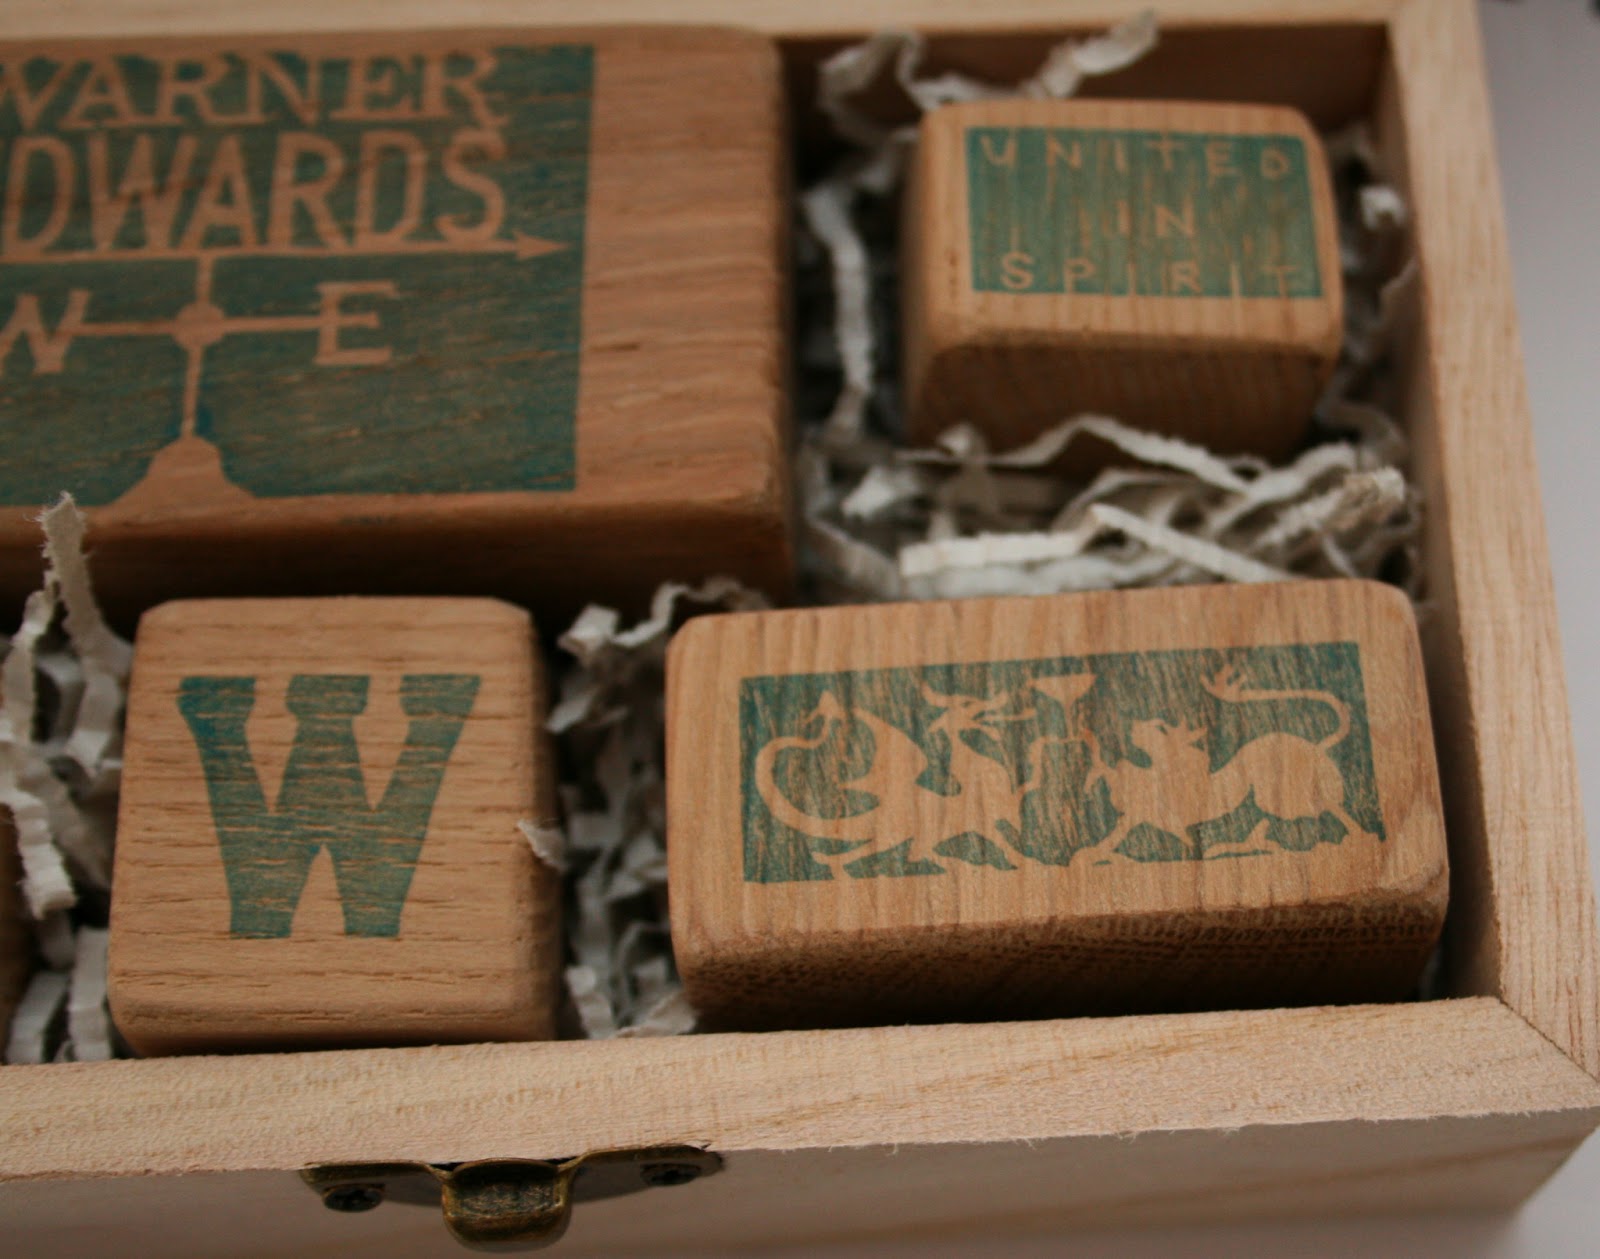
I recently made some stamps for a friend to give to her friends at Warner Edwards Distillery.  I had so much fun making them and hope they like them too.

If you would like to check them out, they have a facebook page an website amongst other things.  The company is local to me and I believe their distillery is in Northamptonshire.

https://www.facebook.com/WarnerEdwardsDistillery?ref=ts&fref=ts
http://www.warneredwards.com/index.php?route=common/home

They recently got the San Francisco world spirits competition silver medal 2013
, what a great achievement for a family run business.  It makes it all the more exciting to make their stamps for them.  Thank you to Heather MacAllister for giving me this great order.

Here's some photos of the finished hand carved rubber stamps


W.E. are Warner Edwards. Great friends and craft distillers, we carefully and lovingly create beautiful artisan spirits.
From a 200 year old converted barn on our farm in the quaint village of Harrington, Northamptonshire, Curiosity, our magnificent copper pot still works her magic.

She takes our farms' pure, natural spring water, grain spirit, home-grown elderflower, plus ten other secret botanicals, and transforms them into a fantastically smooth and aromatic dry gin.

Each batch is small, and every single bottle is carefully handcrafted by us, from the filling to the wax seal and label finishing. W.E. think it's pretty special and best served with friends – let us know if you agree!

Busy Keeping Chickens - No rubber stamps here!

One of the best thing's I have done recently is get chickens, I love them.


Holly Left Peppa Right


Three weeks ago we got 2 chickens, one called Peppa and the other Holly.  What fun we have had watching them grow so much already.  They were 10 weeks old when we got them.  Who knew that a chicken would roll in the ground like a dog and come up for a stroke like a cat.  They take themselves to bed every night around 8.30 and try to roost on a perch if we don't get them to bed quick enough.  In fact one day Peppa actually told me off, she kept twirping up at me telling me to come in out of the dark and she got a little frantic that she wasn't tucked up, so cute!... yeah I know! a chicken? Cute? Lol!


when we first got them I have to admit I was a little scared that they may peck me to death or something silly, but no they weren't flappy or pecky at all.  In fact they're kinda cuddly! I just want to pick them up and give them a squeeze but I don't think they'd be having any of that.

We got a hutch from the Tip Shop and paid £7.80 as that's all we had in change, he he.  Took it home and gave it some improvements, a new run, new felt roof and a paint job oh and some posh picture framing trimmings around the top :)  It looks like a pretty posh tree housey chicken coup.  We're not quite finished yet, we'd like to build a run for when we're not there but that will all come with time.  Luckily we're not away for some time yet.

Here are some photo's of the coup/hutch renovation :)


The coup straight from my favourite shop 'the tip shop'
We under estimated how much work we'd like to do on the coup before it was ready, so the chucks stayed inside in their basket, putting them selves into bed each night, too cute!
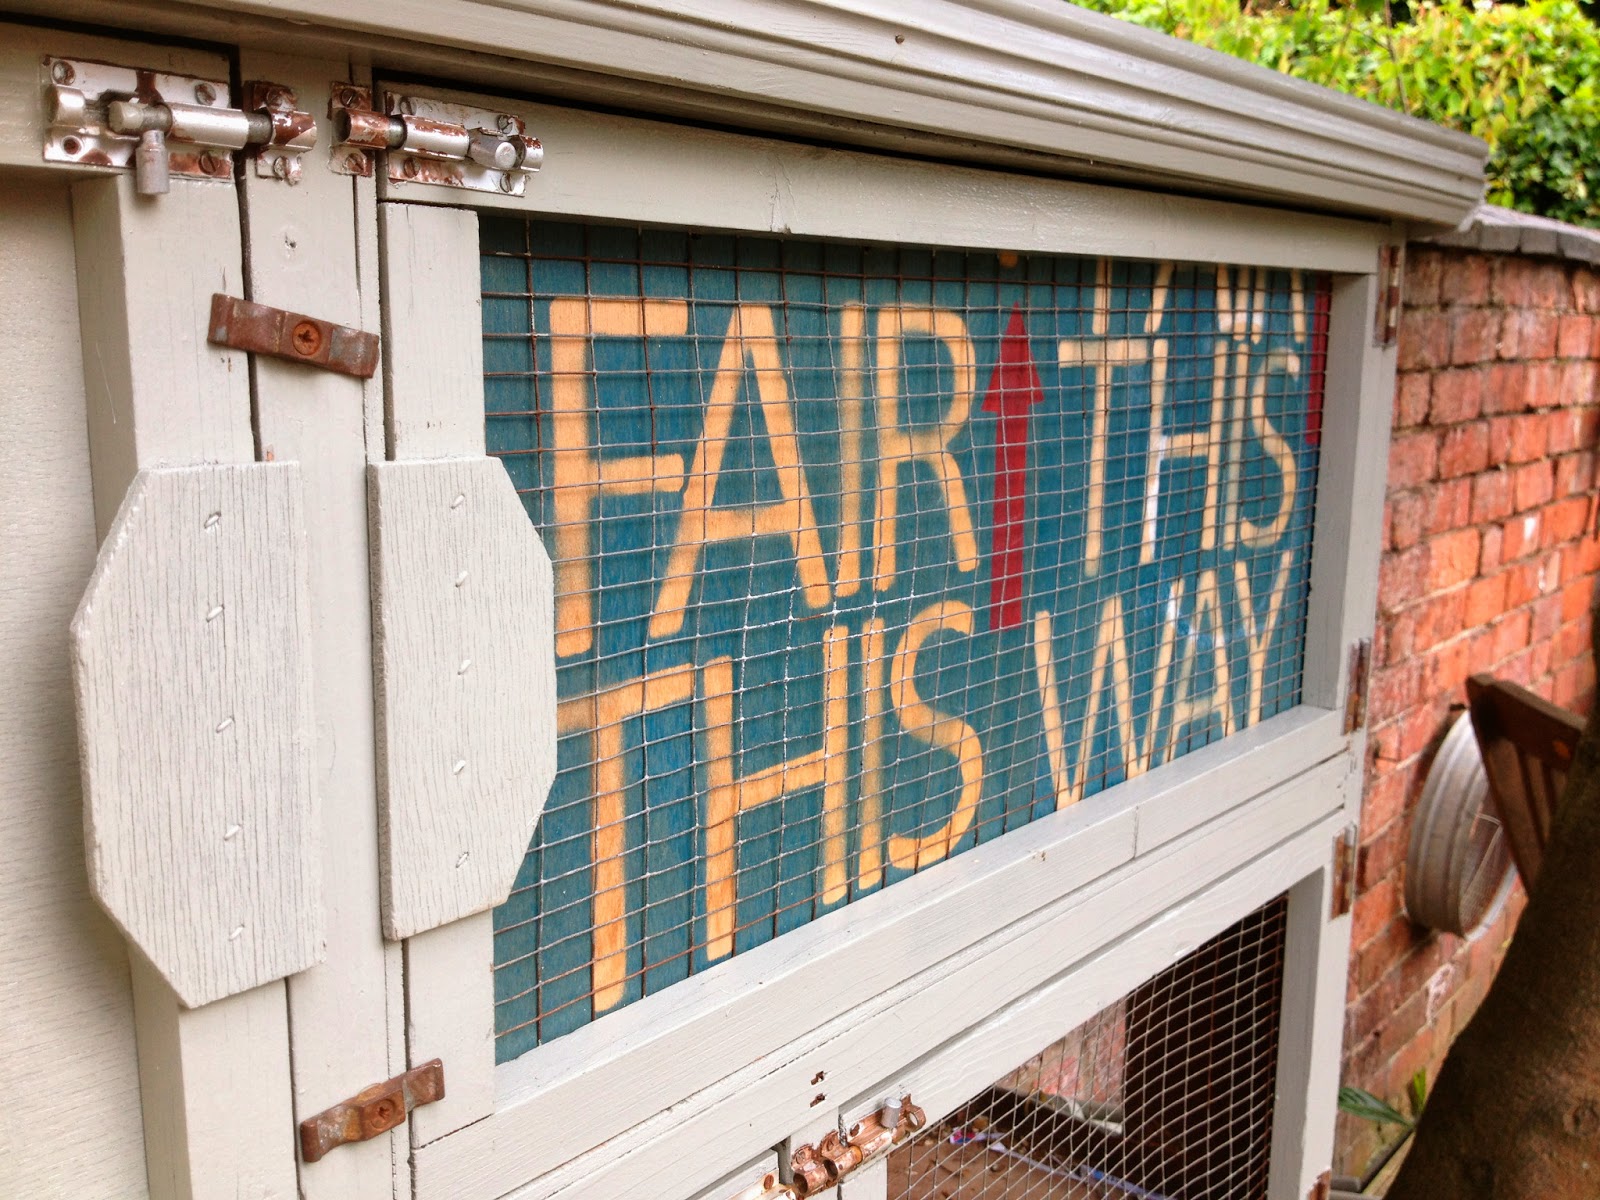
My old craft fair signs turned into good use for the door to the top floor of their coup. Lovely presentation from hubs.
Simon attached legs to the bottom so we can one day incorporate them into the run but for now, to look nice and give extra support to the wall screws.
The Run, using a bit of left over banister and dowling from curtain pole left overs, painted to match the coup
The drop door, Simon's own handy design
Ta Na!  We are pretty please with how the coup turned out :) 
Their run which they're still getting used to.
The triming around the top was some picture rails that we had from our old house.  I don't throw anything away that I think we could use. It feels good to finally reap the rewards of being a clutter pants!...